LAB II INSTALLATION MIKROTIK WITH GNS3

- THE PURPOSE OF THE WRITING :
- TUJUAN PENULISAN :
1. Untuk mengetahui bagaimana cara menginstall Mikrotik
2. To know how to configure at GNS 3
2. Untuk mengetahui bagaimana cara konfigurasi di GNS3
3. To know how to install Mikrotik using qemu
3. Untuk mengetahui bagaimana cara menginstall Mikrotik menggunakan Qemu
- BASIC CONCEPTS :
- KONSEP DASAR :
- Pengertian dari GNS3
GNS3 is a graphical network simulator that allows simulation of complex networks .
GNS3 adalah network simulator grafis yang memungkinkan simulasi jaringan yang kompleks.
- Pengertian dari Qemu
Qemu is an emulator application that relies on binary translation to achieve speed when running on the host computer architecture. In connection with the host computer. Qemu provide a device model that allows to run different operating systems that have not been modified so that it can be displayed in a virtual hosted marchine monitor.
Qemu is an emulator application that relies on binary translation to achieve speed when running on the host computer architecture. In connection with the host computer. Qemu provide a device model that allows to run different operating systems that have not been modified so that it can be displayed in a virtual hosted marchine monitor.
Qemu
adalah sebuah aplikasi emulator yang mengandalkan terjemahan biner
untuk mencapai kecepatan saat berjalan pada arsitektur komputer host.
Sehubungan dengan komputer host. Qemu menyediakan model perangkat yang
memungkinkan untuk menjalankan sistem operasi yang berbeda yang belum
dimodifikasi sehingga dapat ditampilkan dalam host memantau marchine
virtual.
- CONFIGURATION :
- KONFIGURASI :
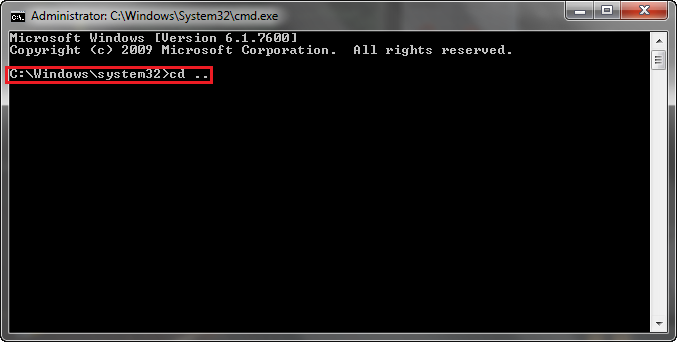
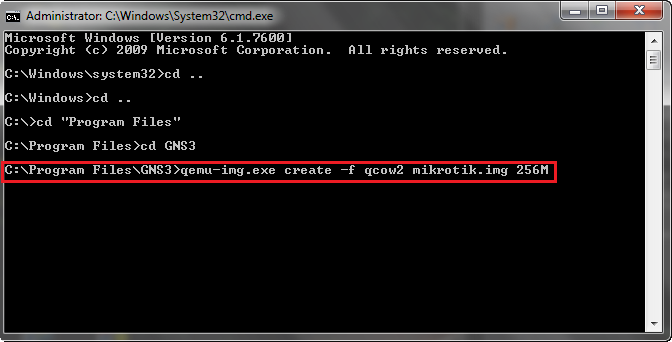
1. First, open CMD as administrator, and then type the command "cd .." to get out of the system 32.
1. Pertama, buka CMD sebagai administrator, kemudian ketik perintah "cd .." untuk keluar dari system 32.
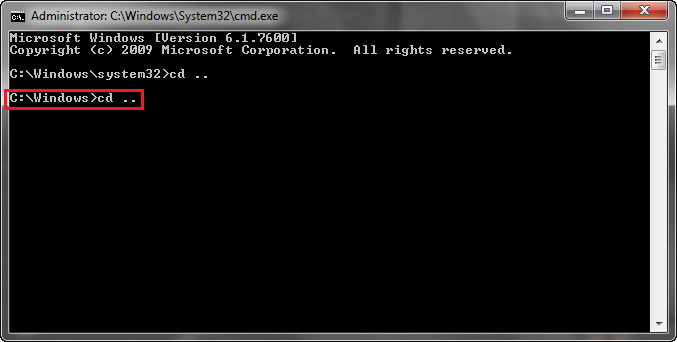
2. Then type the command "cd .." again to get out of the windows.
2. Kemudian ketik perintah "cd .." lagi untuk keluar dari windows.
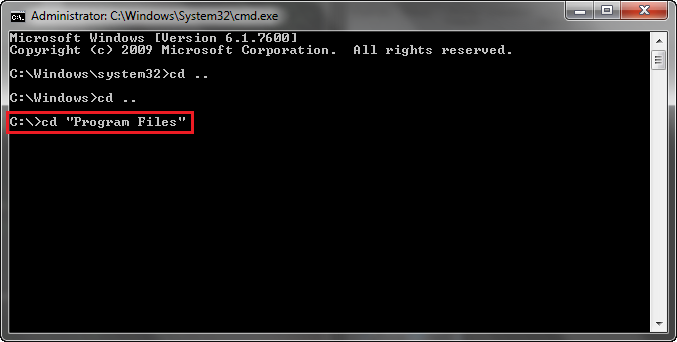
3. After that, typing the command " cd "Program Files" " so we go to the Program Files folder.
3. Setelah itu, ketikan perintah " cd "Program Files" " artinya kita akan menuju ke folder Program Files.
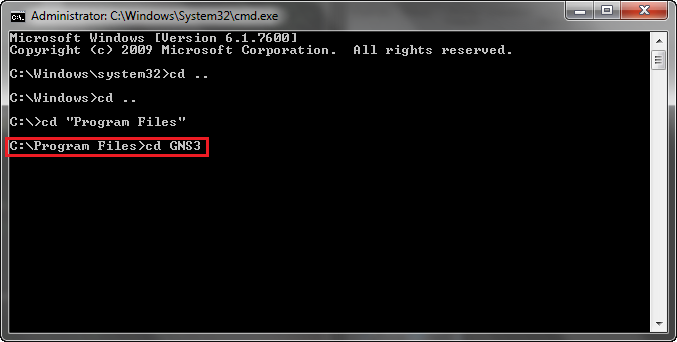
4. Then typing the command "cd GNS3" whose purpose was for us to go to the folder GNS3.
4. Kemudian ketikan perintah "cd GNS3" yang tujuannya adalah kita akan menuju ke folder GNS3.
5. Then type the command “qemu-img.exe create –f qcow2 mikrotik.img 256M”.
5. Kemudian ketikan perintah “qemu-img.exe create –f qcow2 mikrotik.img 256M”.
6. After that, copy the Mikrotik ISO to a folder GNS3 , if the following warning appears , select only continue.
6. Setelah itu, copy ISO Mikrotik ke folder GNS3, jika peringatan berikut muncul, pilih saja continue.

7. And then typing the command “ qemu.exe mikrotik.img –boot d –cdrom “Mikrotik.iso” “.
7. Kemudian ketikan perintah " qemu.exe mikrotik.img -boot d -cdrom "Mikrotik.iso" ".
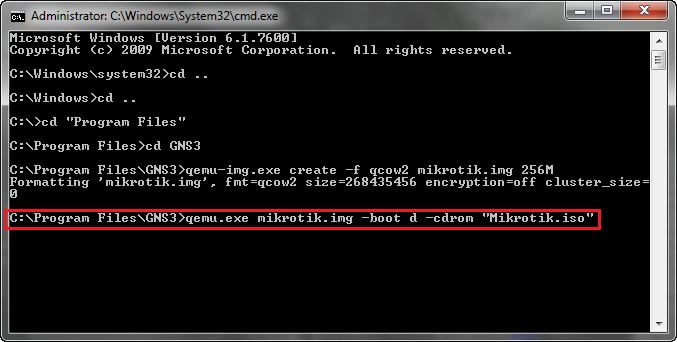
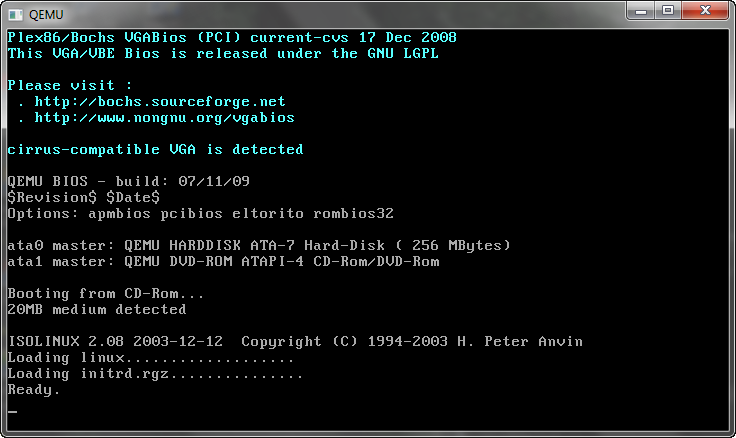
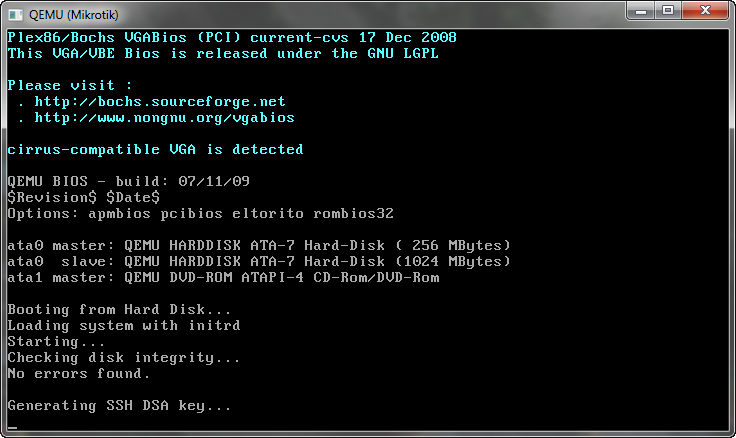
8. After that will appear qemu screen and will run automated processes, waiting until the next step.
8. Setelah itu akan muncul layar qemu dan akan berjalan proses otomatis, tunggu sampai langkah berikutnya.
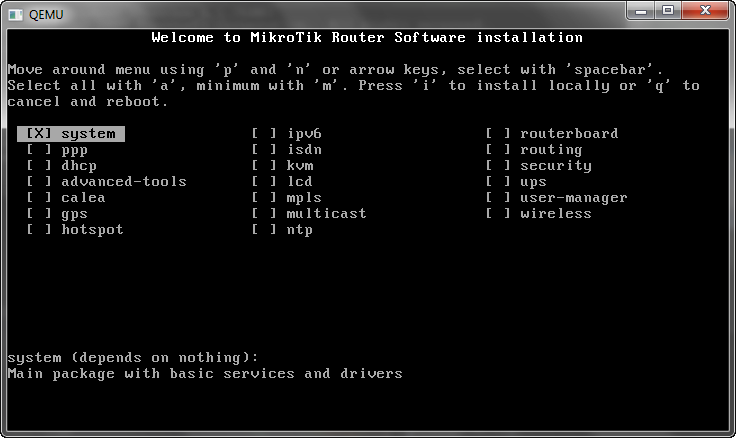
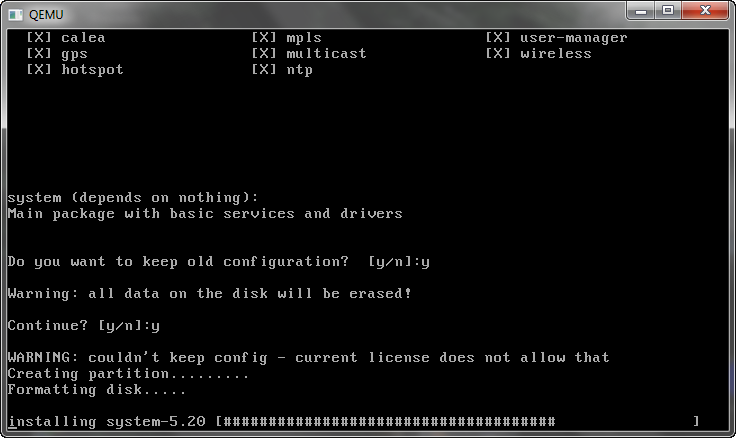
9. Then will come a lot of software to be installed , press " A " if you want to select all , then press the "I " , " Y " , " Y ".
9. Maka akan muncul banyak
software yang akan diinstal, tekan "A" jika Anda ingin memilih semua,
kemudian tekan tombol "I", "Y", "Y".
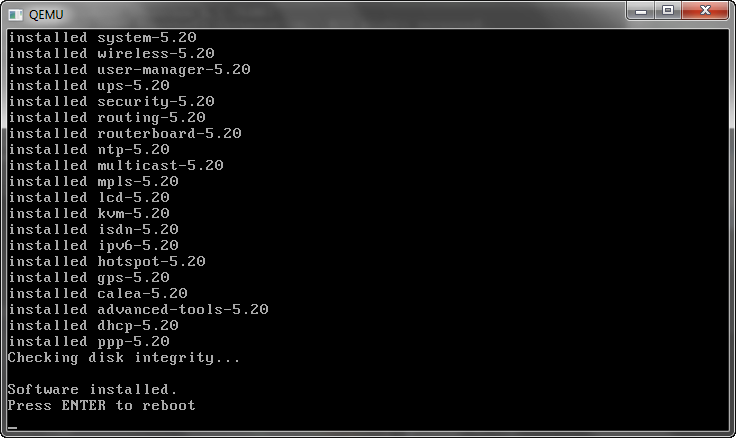
10. And then will run an automatic process , wait until the process is complete.
10. Dan kemudian akan berjalan proses otomatis, tunggu sampai proses tersebut selesai.
11. After that will be asked to reboot , press enter to reboot, and exit the program.
11. Setelah itu akan diminta untuk reboot, tekan enter untuk reboot, dan keluar dari program.
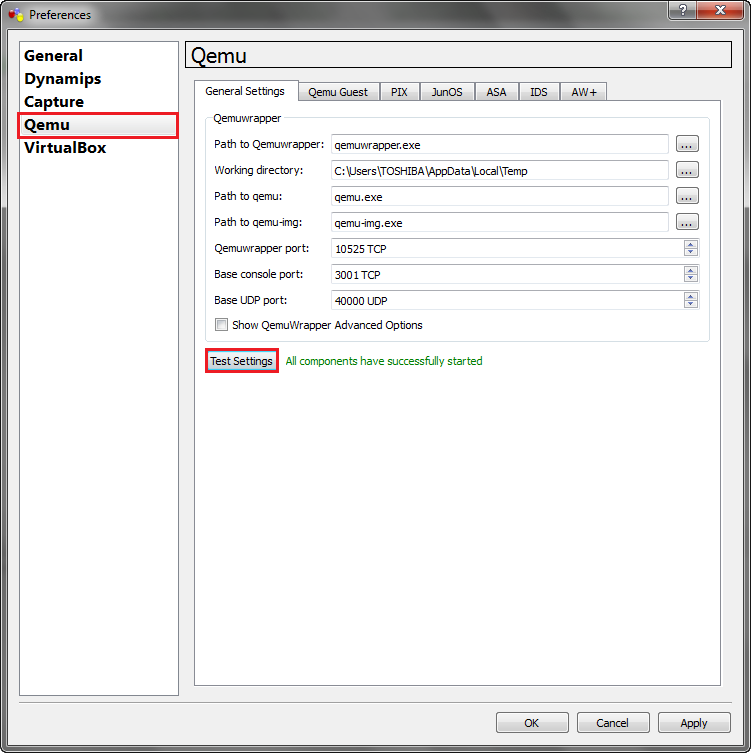
12. Then open GNS3, select Edit > Preferences, then qemu. Perform test settings, If you see a green writing, it means qemu on GNS3 can already be used.
12. Kemudian buka GNS3, pilih
Edit > Preferences, kemudian qemu. Lakukan tes, jika anda melihat
tulisan hijau, itu berarti qemu pada GNS3 sudah dapat digunakan.
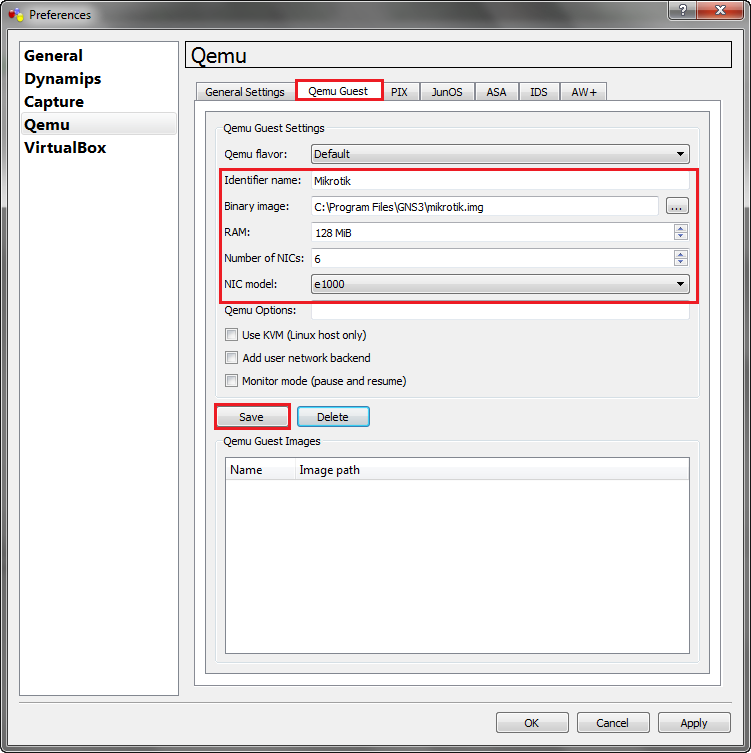
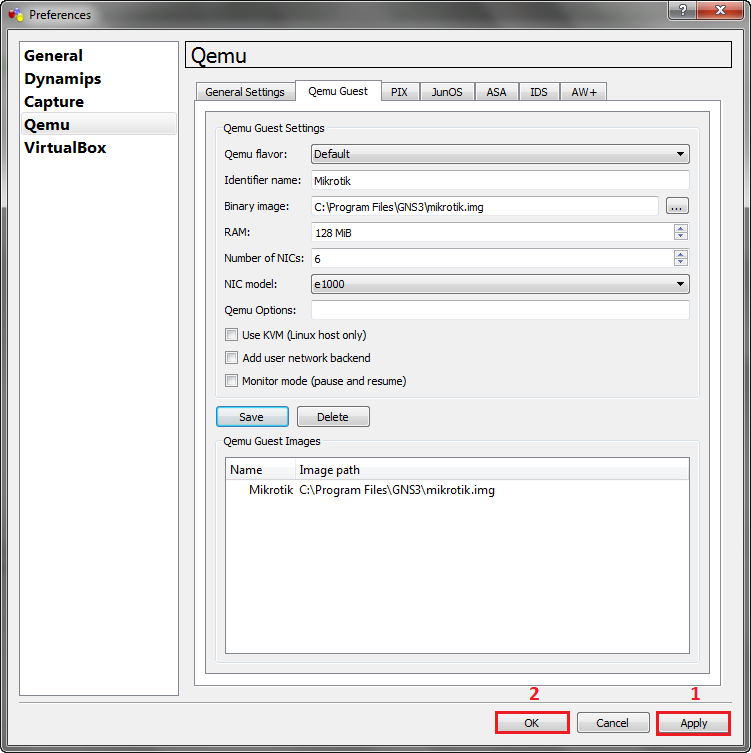
13. After that, click on qemu guest, enter the identifier name, and binary image. Then click save.
13. Setelah itu, klik pada qemu guest, masukkan nama, dan binary image. Kemudian klik save.
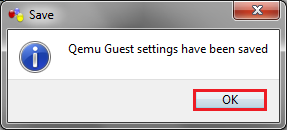
14. It would appear warning that we have managed to do the save data is qemu. Click ok.
14. Akan muncul peringatan bahwa kita telah berhasil melakukan save data qemu. Klik ok.
15. After that, click apply then ok.
15. Setelah itu, klik apply lalu ok.
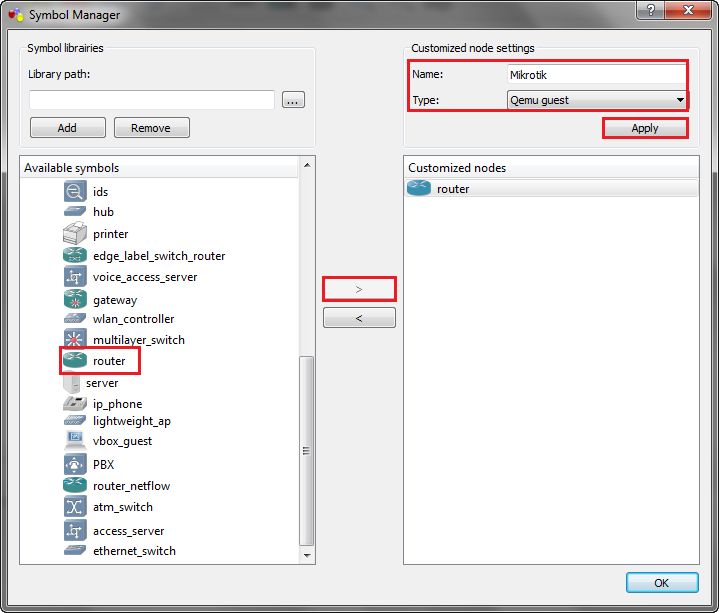
16. Then go to Edit > Symbol manager. Put the router to the list that will be run, change the name and the type of change into qemu guest, and click apply.
16.
Lalu coba masuk ke Edit > Symbol Manager. Masukan router ke daftar
yang akan dijalankan, ubah nama router tersebut dan tipenya menjadi qemu
guest, dan klik apply.
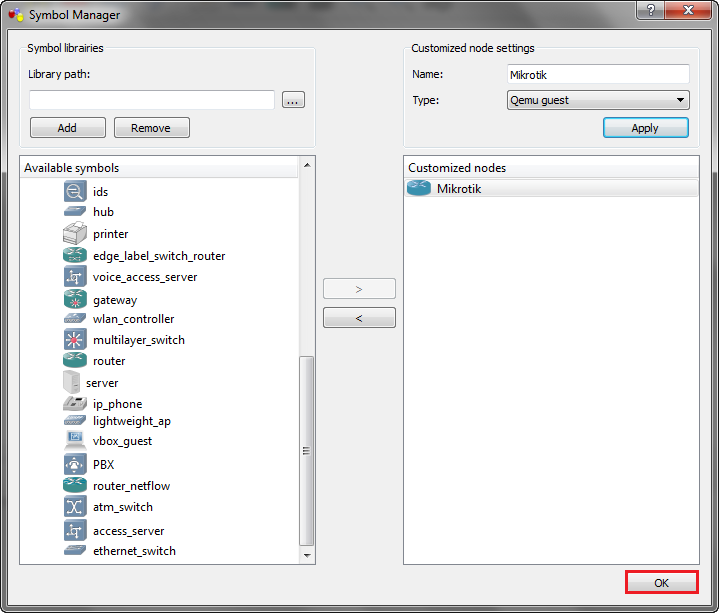
17. After that click ok.
17. Setelah itu klik ok.
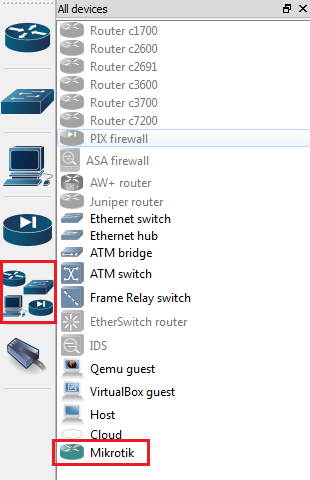
18. Then click on the image that contains the hardware. Then drag image of the router (Mikrotik) to the middle of the screen.
18. Kemudian klik pada gambar yang berisi daftar perangkat keras. Kemudian tarik gambar router (Mikrotik) ke layar tengah.
19. Then after the router (Mikrotik) is already in the middle of the screen, click Start to run.
19. Kemudian setelah router (Mikrotik) sudah di tengah layar, klik Start untuk menjalankan.
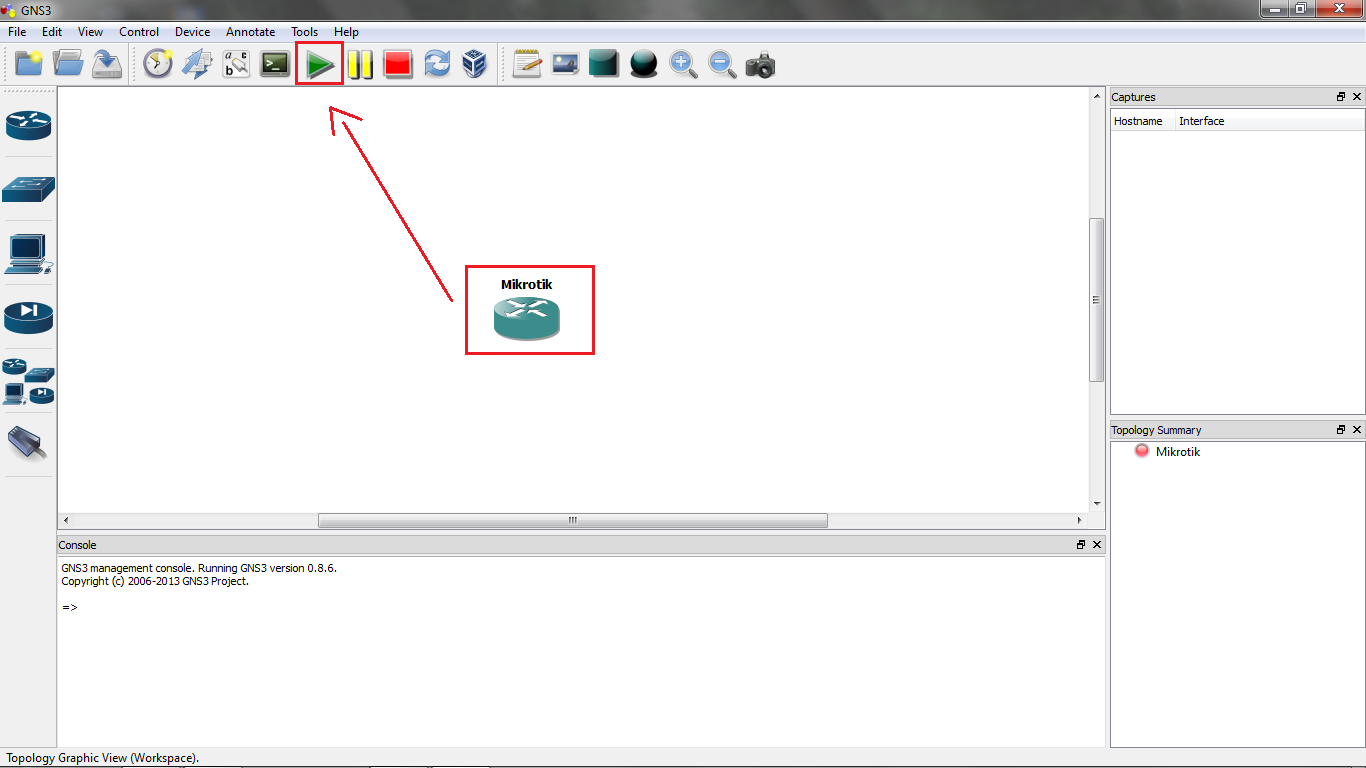
20. Then after clicking start on the router, will run automatically boot of the router.
20. Kemudian setelah mengklik start pada router, akan berjalan secara otomatis booting dari router.
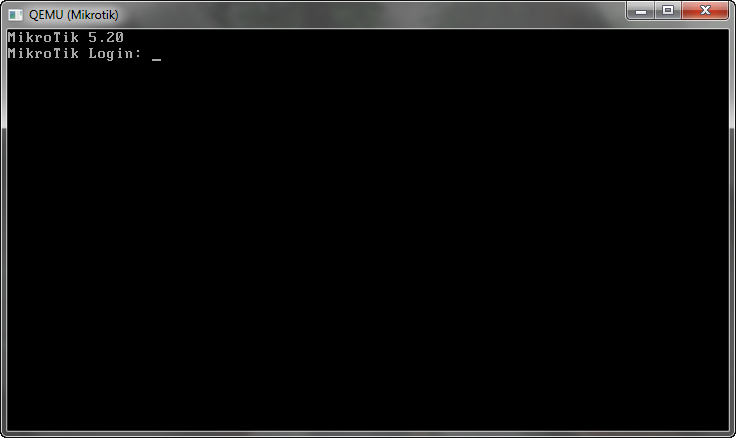
21. This is a screen that asks you to enter a username and password to login, which means you have successfully installed the mikrotik in qemu using GNS3.
21. Ini adalah layar yang
meminta Anda untuk memasukkan username dan password untuk login, yang
berarti Anda telah berhasil menginstal Mikrotik di Qemu menggunakan
GNS3.


No comments :
Post a Comment